Maybe you’ve been creating with Polymer oven-baked clay for ages, but for the rest of us, or maybe just me, clay can feel intimidating. I’d not picked up, let alone made anything with, actual clay since grade school. I’m a older sibling by many years and the mess of picking up my little siblings’ dried out and stuck in odd places Play Dough made such a strong impression that my own children never really had any at home. Gifts of it sort of ‘disappeared’. They used it at school, and possibly at friends’ houses. I’m not really sure, and if it’s a lack in their childhood they can add it to the list for discussing with their therapist, with my apologies. I share all this so you can both look on what I did manage to make with some allowances for my lack of experience, and maybe be encouraged that if I could manage to create some cool and useful things for our Littles, that you certainly can too!
First, there are two basic types of clay. Polymer clay, that needs to be baked in an oven and you can then glaze and such. This is the ‘real’ stuff that I may eventually dabble with. There is also Air-Dry clay. No scary oven baking needed. As it’s name says, it just drys over time sitting in the air. But it does also start to dry a bit as soon as you open it, so keep it well packaged. Everything I’ve done thus far has been with Air-Dry clay. Some of it I’ve painted afterward, some was left in the color it came in.
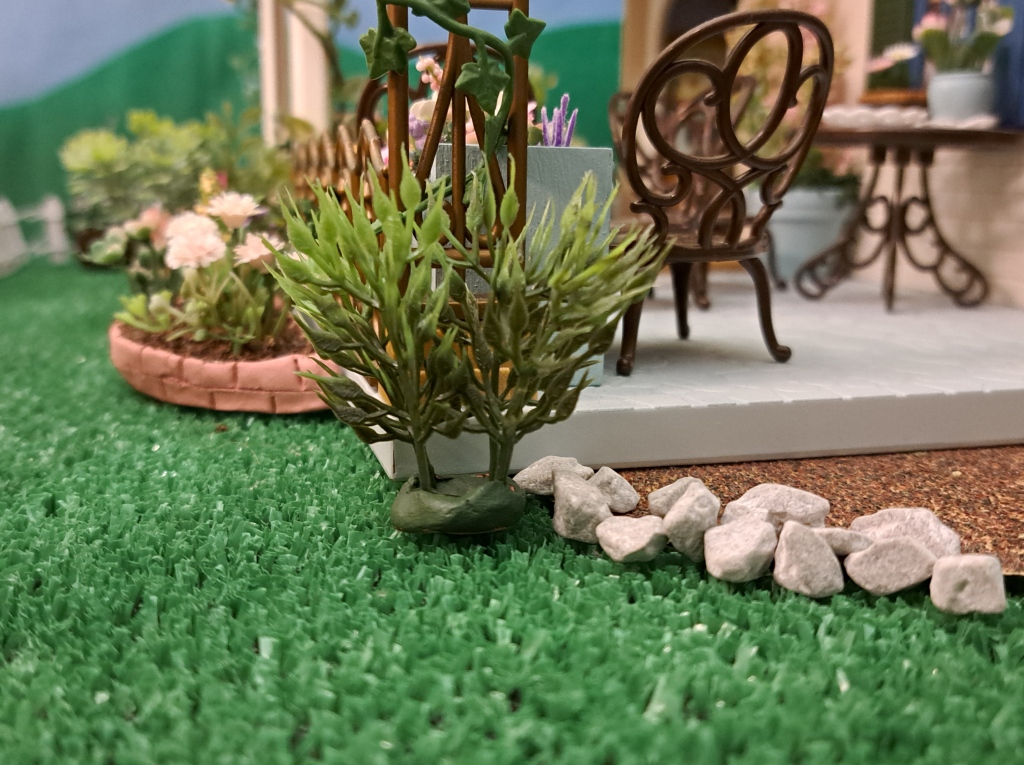
If you’ve been following my blog or seen me on social media, it will probably not be a surprise that all my creations involved plants, or miniature gardening of some sort. The easiest, and first little project I tackled was to create little bushes that could stand up on their own. Basically just sticking some plastic plant bits into a bit of clay that was flat on the bottom so it could stand up. I made little balls, squashed them flat on the bottom and stuck in the plant. That was seriously it. For a few I cut some sections from the same plastic plant and poked it into the clay to create a better shape. And then I painted them green after they dried. Boom – bushes for decorating anywhere and everywhere. They’re honestly SO handy. I didn’t make nearly enough when I first made them, so my second batch of clay projects I made tons.


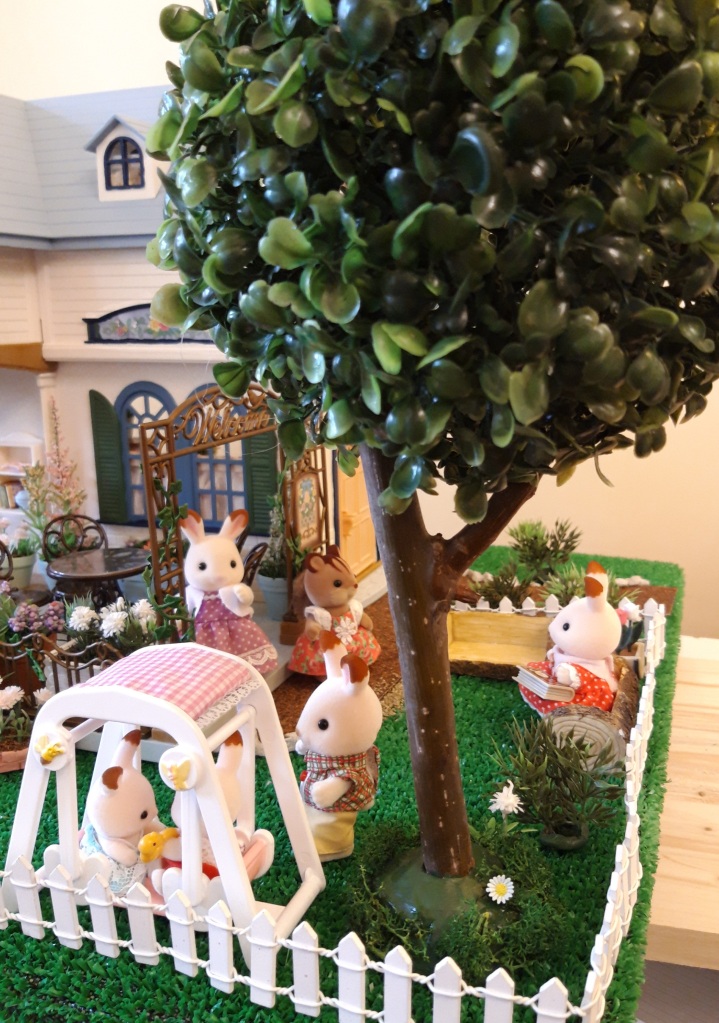
Next I tackled a similarly useful decor item – trees! I got this idea from a blog by Mimi I followed last year that doesn’t seem to be active anymore to link to, BUT, another blogger, Cutata in Spain was also inspired and I think her pictures are great and useful too, better than mine so take a look. I’m sad about Mimi’s blog being gone, her dioramas were amazing. I spent so much time looking online to buy trees before I finally got brave and decided to make some instead. So my trees are my attempt at what both Mimi and Cutata did before me, and probably many others. If we can do it, so can you!
Honestly, finding good sticks proved the hardest part of my trees. I still have a stash in our garage for when I make some more again – if I see a good looking stick now, I can’t pass it up! I’m especially wanting to make a larger tree with a nice side branch for a tree swing. For now nice looking straight sticks did the job. And you need some simple bottle caps or similar base shape that the sticks will fit into. I used bottle caps the first time as that was Mimi’s directions, but for my second make I cut the top half off a used yogurt cup. You just need something flat to hold the stick. Clay is molded around the stick in it’s holder, creating a base. The top of the tree is a plant ball, they’re sold in many decor sections, I found mine in Tesco (British version of Wal-Mart all over Europe). Hot glue works best to connect both the stick into the bottle cap and then the plant ball to the stick. It actually helps in determining the balance and testing the base to glue the plant ball to the stick first, and then into the bottle cap so you have the weight and can balance it all so it stands straight, adding more clay around the base as needed for stability.


I was not going to include this next project until I made it again and took pictures of the during process – but since Mimi’s blog is gone, it’ll at least give an idea of what’s possible. Her trees were much better than mine! And she had great instructions with during pictures. I got caught up in what I was attempting for the first time and forgot to take pictures – so sorry! For this tree you find a plastic plant that already looks sort of like a tree, just without a proper trunk. You then take foil, crumple it up and wrap it around the plant base, creating a trunk shape. Around this you wrap flattened strips of clay, smoothing it all together. Once all covered, you then use a knife or similar tool to create grooves in the trunk. I painted my trunk a medium brown, and then added minuscule amounts of black paint lightly, with almost no paint on the brush. I was very unsure about the painting of the trunk, asked around on craft groups and got super helpful advice. I don’t think mine are all that wonderful looking up close, but it is useful to have another type of tree around my Little’s world of Faunavale. I’m using these two more in the background of pictures or behind a building. Again, this is the style of Cutata‘s orange tree if you want to see another example.


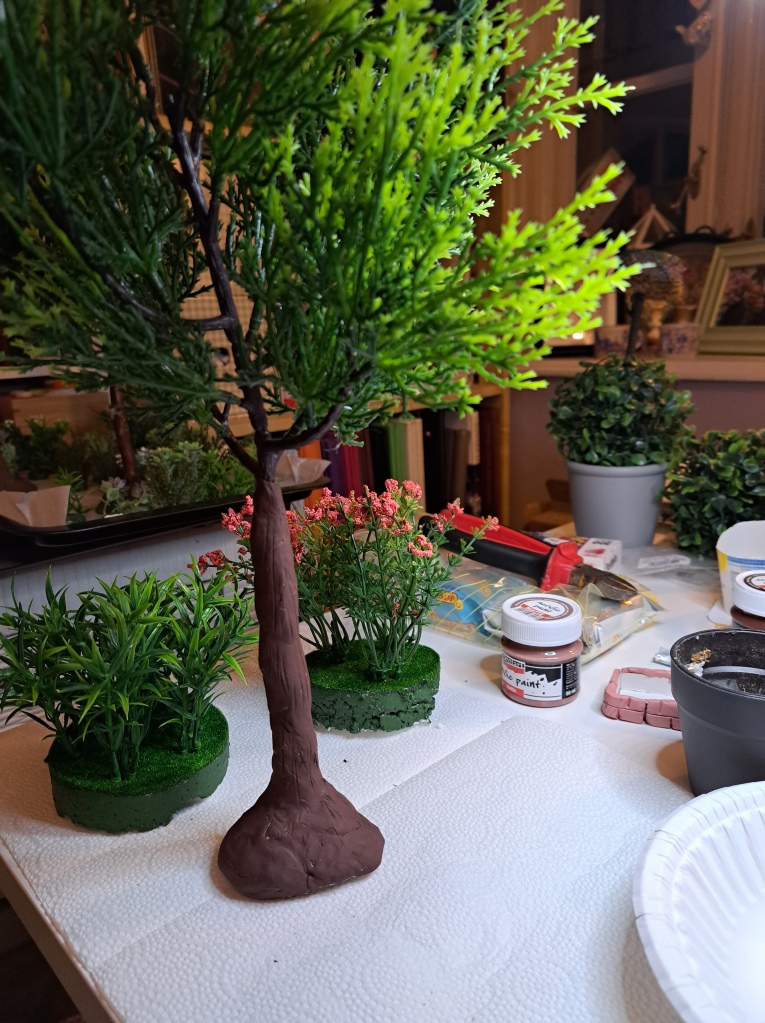


Some pictures above have both trees and bushes, as I made them all at the same time and they were collected together to dry. You can see the clay on trunks in various stages of drying, if you look at the coloring on the trunks. And another tip, I found wax baking paper on a cookie sheet as an excellent ‘clay drying station’, easily moved if needed and set someplace out of the way for a day or two.
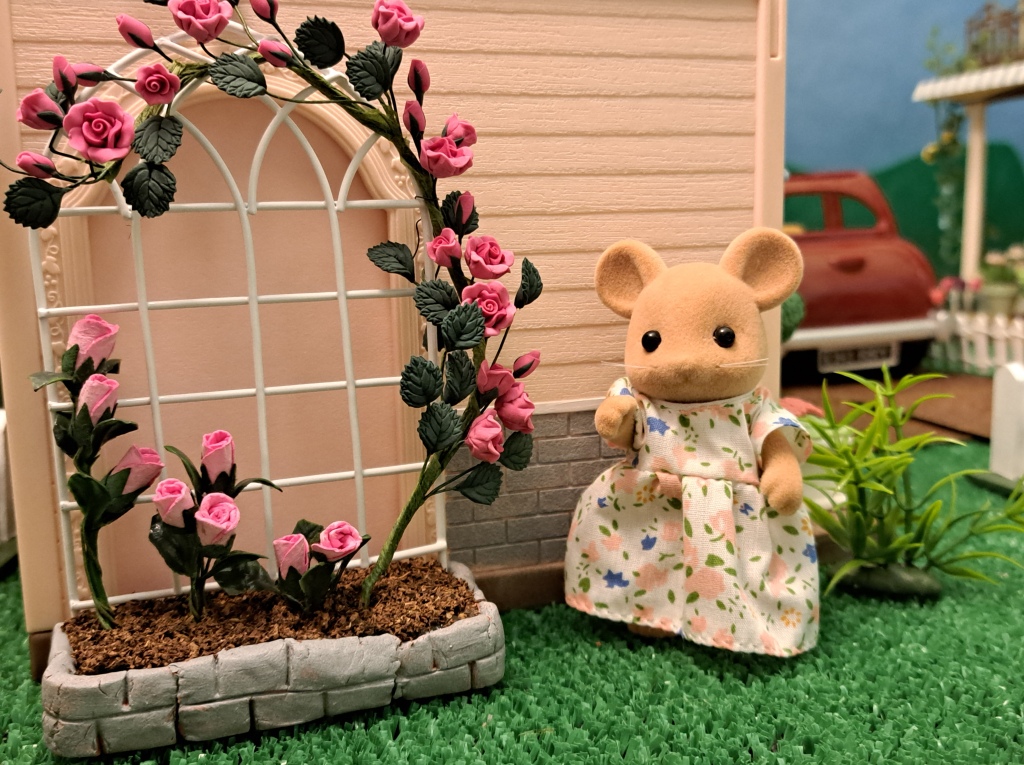
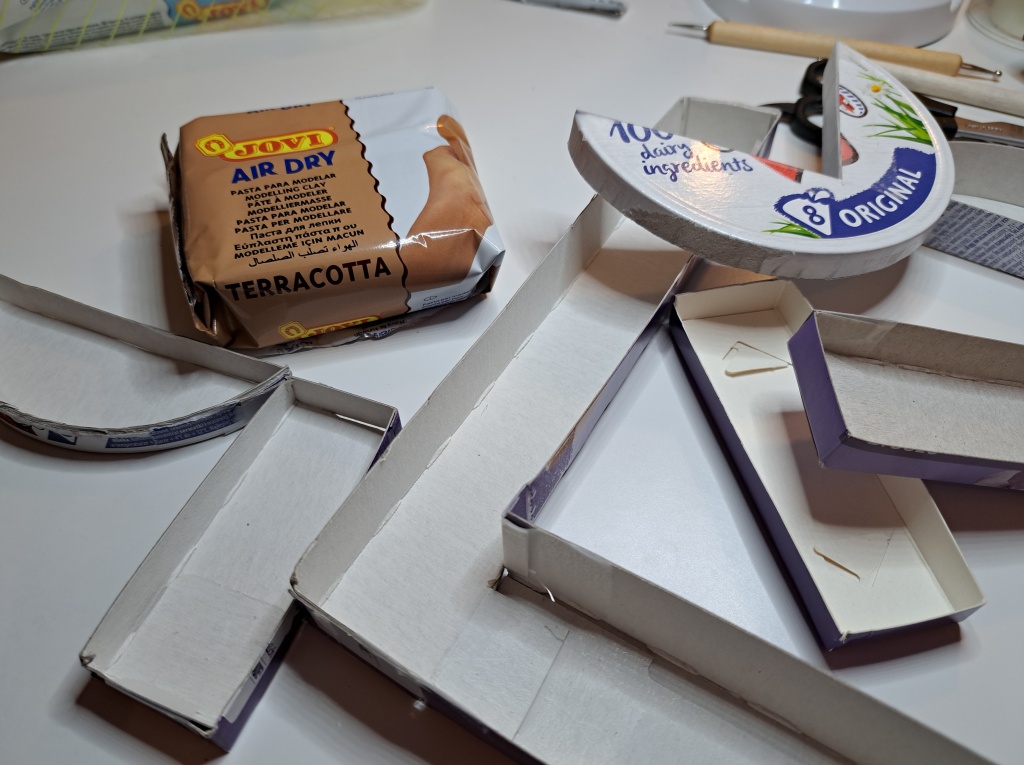
Lastly, I made many ‘brick’ raised flower beds. For the trees and bushes it didn’t matter what color the clay was, as I painted it brown or green. For these beds I used a ‘Terracotta’ clay, and thought it worked perfectly as it was, without any painting. For two beds I wanted next to a particular house with grey bricks, I painted them grey to match.
You’ll need the shapes first. Mimi inspired both Cutata and I in using the round containers from Laughing Cow cheese. I also wanted rectangle beds and raided my growing collection of packaging and up-cycle bits and pieces. I cut packaging to the sizes I wanted, taping them as needed.
For both the bushes and then the tree, it was a lot of molding and pushing the shapes with my hand/ fingers. This project required a bit more traditional clay work – rolling it out thin and flat, cutting it to fit around the cardboard shapes. I really didn’t have official clay tools – anything round can work as a roller – I used a paper tool I had on hand, and I used an old knife for cutting and smoothing the connections together. Once you have your shapes covered you can add the ‘brick’ shapes, I just used that same knife, making careful indenting lines in an alternating pattern as you’d have with bricks.

Some helpful advice I learned the hard way – older clay is much harder to work with, and more prone to cracking and not staying ‘connected’ at the connection points as the newer, fresher clay was. I made my first few beds, bushes and trees last winter, and did my second batch of flower beds and bushes about nine months later. I tried to use the same clay again, it had been closed up tight and seemed fine initially. But after my second flower bed cracked badly where those first had not, I bought new clay and had no more such problems. I also had one of my first two trees that kept falling over. So I took it out of it’s bottle cap/clay base and made a new one (that bottom half of a yogurt cup) that was wider and gave it more stability. Don’t be afraid of messing up, you can always improve on your own creations – that’s how we learn.
Enjoy some finished product pictures. And I’d love to hear how your clay creating goes! Did something work well for you? Or did something just not work at all? Did you find a fix? Most importantly, did you have fun? And maybe, did you learn something? Happy crafting for our Littles!